A leaking gate valve may disrupt the efficiency, performance, and environmental compliance of any system. In this article, we discuss more about leaking gate valves, causes of leakage, types of leakages and repair options, as well as how to replace them.
More about Leaking Gate Valves
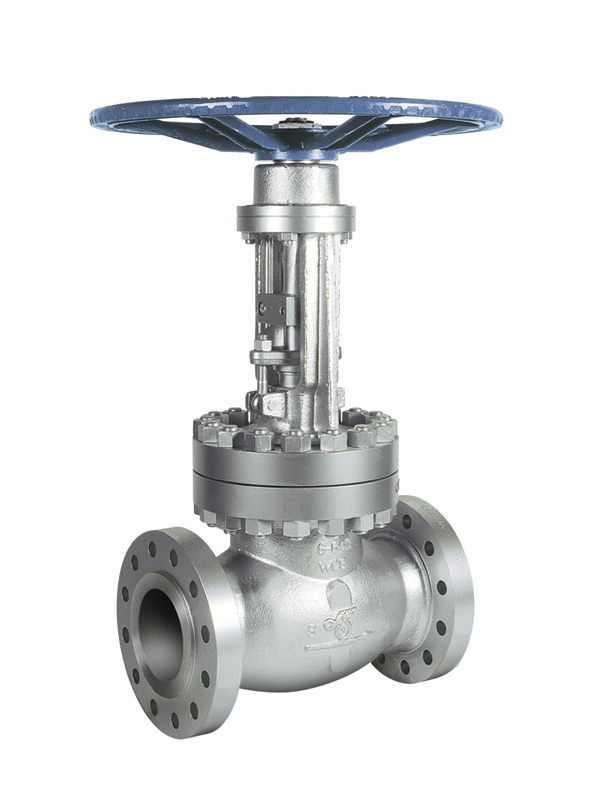
Generally, gate valves are used to either allow fluid to flow freely in a conduit or to stop the flow completely. Because of their simple operation mechanism, they serve in several shutoff applications, including waterworks, power generation, and gas production. Over time, these valves accumulate damage in various parts and could leak even when in the close position.

In industry, valve leakages are a common occurrence, even in valves classified as bubble-tight. Rather than a strict zero leakage requirement, various tolerance levels exist for each type of valve. For example, steel gate valves have an acceptable liquid leakage rate of 10 cc/hr per inch of nominal pipe diameter, according to MSS SP-61.
The impact of a leaking gate valve depends on the type of leakage, of which there are two. One is fugitive emissions, where the process fluid leaks into the atmosphere. While the other is when leakage remains within the piping system. Both types are safety concerns, but fugitive emissions have the added impact of environmental damage.
Causes of a Leaking Gate Valve
Several elements can cause the leakage of a gate valve, some of them as follows:
- Corrosion: This is one of the major causes of valve leakage. Over time, the valve parts in contact with the process fluid lose material as it corrodes. The rate at which this happens should be predicted at the design stage, and the necessary material corrosion allowance should be included in the valve selection.
However, in facilities such as a crude oil production plant, the constituents of petroleum could change as the oil well depletes. Thus, corrosion rates may increase and cause valve failure much earlier than predicted. In such a situation, consistent monitoring of the process fluid helps minimize leakage issues.
- Wear of valve parts: Apart from corrosion, other factors can result in the wearing of valve parts. For example, in oil and gas facilities, the presence of sand or other solid debris leads to the removal of valve material along the flow path. This worsens at high flow rates, especially in gas production.
- Obstruction of valve stem: When debris accumulates on the valve seat or some other areas inside the body, it hinders the movement of the stem. Thus, complete closure of the valve port occurs.
- Variation in process conditions: Changes in temperature and pressure along the process, while the valve is in service, may cause relaxation on bolting torques, especially on the stem packing area, in which losing torque will result in leakage through this area. If this is the case, live loading in the packing area must be required.
- Wrong valve size: Although this is rare in industrial applications, there remains the possibility of using the wrong valve size on a project. The effect would be the same if the right size of the valve is in use, but its design is poor. Either of these would result in leakages because the valve will not close properly.
Types of Leakages and Repair Options
Leakages from a gate valve can occur from several locations, and this section reviews some common areas.
Leakage from Stem Packing Area
Both old and new valves can leak around the stem packing and handle area, especially when opening and closing. This results from sediment buildup hindering the complete closure of the valve or causing the stem to stick to the open position. Also, the stem can wear off over time due to corrosion or erosion.
Leakage from the valve stem packing may imply a poorly designed valve, the use of an inadequate stem material, or using the wrong valve size. One way to resolve this is by retightening the bolting or replacing the stem packing. To achieve this:
Valve in a pressurized system:
- Open the valve completely until the stem makes a backseat with the bonnet.
- Loosen and remove the packing flange bolting nuts to release the packing flange and gland and remove old stem packing.
- Replace the stem packing with a new one, and place the used packing gland and packing flange.
- Tighten the packing flange bolting nuts according to the manufacturer’s torque values.
- Switch on the valve to see if it still leaks. If it does, then tighten the packing flange nuts one-eighth of a turn at a time until it stops.
Leakage from Seat or Seal
Because the seat of a valve is always in contact with the fluid, it makes it vulnerable to corrosion. In addition, there is usually a buildup of solid deposits around the seal that could result in its displacement. Either of these leads to leakage from the gland nut and the connecting parts to the main valve body.
Another source of damage to the sealing or seating surface is when there is excess heat inside the seal cavity or if the flushing fluid is inadequate. A solution to this could be to have a drain arrangement for seat cleaning.
Leaks When Closing or Shut-off
Note: Any mechanical alterations to valves in operation should be first approved by the manufacturer.
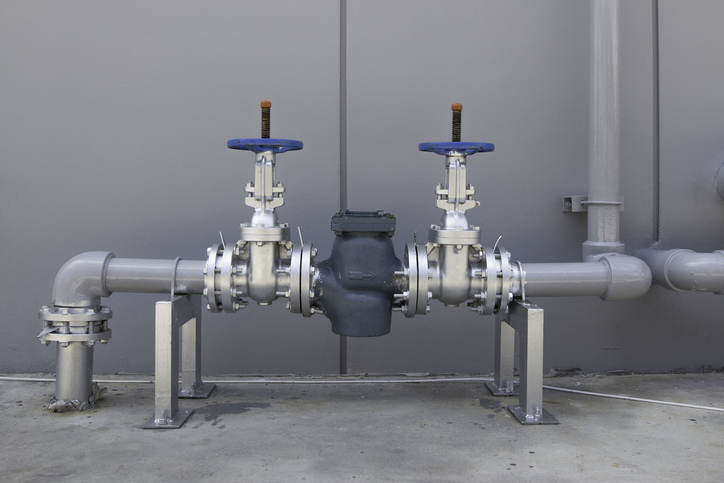
Generally, gate valves serve as the main supply valve in a facility. As a result, they are often open or in a particular position for long periods, leading to the buildup of debris in the seating area. This may cause damage to the valve, cause some parts to be stuck, and leakages even when the valve eventually closes.
When a valve leaks in the closed position, confirm that the wedge is completely closed and in full touch with the seat rings, as the valve might not be closing completely because of buildups between the seat rings. If this is the case, pipeline flushing must be performed. If leakage continues, then there is damage to a valve part, which needs replacement.
Leakage Between Actuator and Valve
In an industrial pipeline, a gate valve includes an actuator that could be electric, hydraulic, or pneumatic, depending on the power source available. The valve receives a signal from the operator and adjusts the stem to close or open the valve. Although rare, there are times when the stem design is poor, with it being too short or long. This results in a gap between the seat and the spool, with the lax closure causing internal leakage. Fixing this can occur in a variety of ways:
- Updating the actuator and stem to meet specifications.
- Straightening or fixing the stem nut and ensuring regular cleaning.
- Maintaining sufficient lubrication of the stem.
How to Replace Leaking Gate Valves
When a gate valve is leaking, the first action is typically to repair it or replace the faulty part. However, in industrial applications where system downtime could come at a significant cost, changing the entire valve is often the best option.
Also, in some applications, such as subsea pipelines, intervention is time-consuming and expensive. Thus, changing a single part and accumulating a high labor cost is risky and unwarranted when compared to full replacement.
Some useful tips when replacing a leaking gate valve are as follows:
- Flush the valve: Most leaking gate valves do not shut off completely due to debris, so they need unclogging before replacement. To achieve this, turn on the supply to the highest possible flow rate, then slowly open and close the valve. With the debris removed, the valve can be closed fully. However, if this does not dislodge the debris, shut off the supply from the source.
- Isolate and heat the valve: The supply should be switched off to isolate the valve from the fluid completely. Because gate valves remain in a position for long periods, there is usually hardening of its parts which makes it difficult to uninstall. So, it is often necessary to heat the valve, especially at the joints and stem handle.
- Disassemble the valve: Loosen the valve from its attachment to the pipeline or wall. Next, use pliers to loosen the bonnet and other parts of the valve. Note: the packing nut is what keeps components of the valve together and prevents fluid from seeping up the stem. So, it should be removed when appropriate.
- Install the new valve: Prior to installing the new gate valve, be sure that the valve is adequately sized for the installation and compatible with the process media. At times, engineers may want to consider putting in a ball valve in lieu of a gate valve. However, the downsides of a ball valve include a high propensity to water hammer and a higher price tag.
Recent Comments